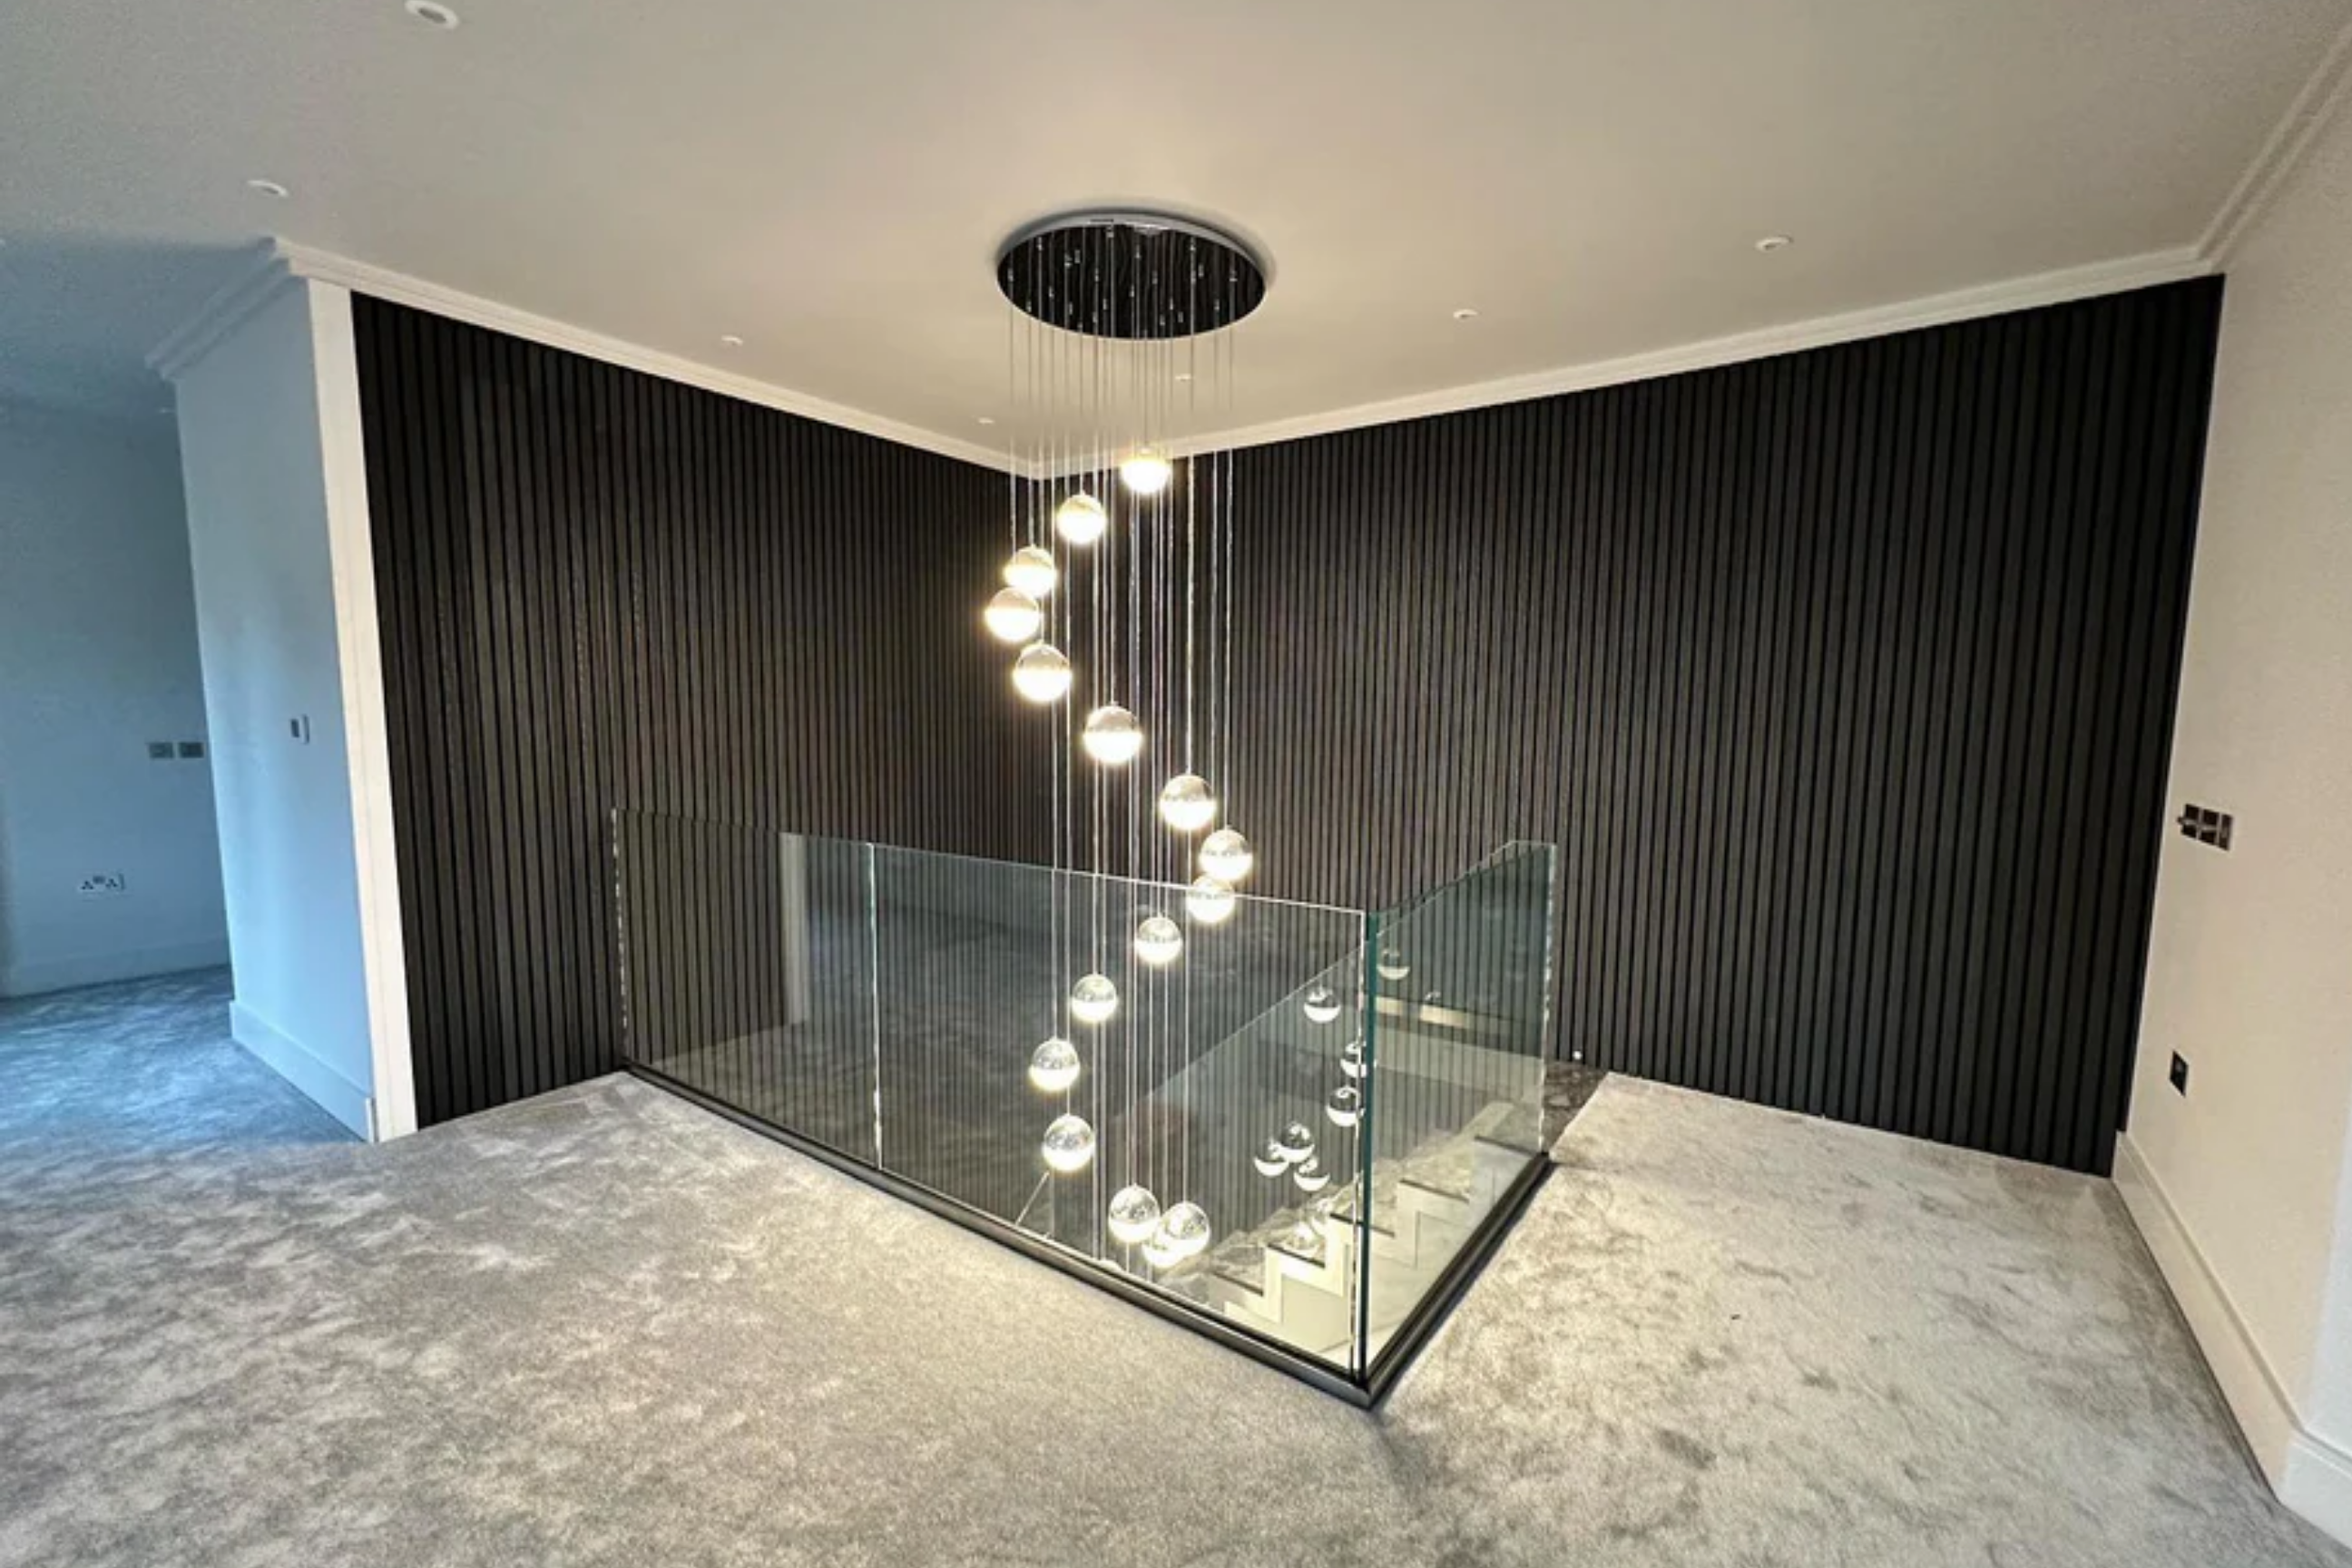
Throughout the year, we’re all thinking about how to upgrade the areas of our homes to bring a fresh, brand-new feel to them. However, during the colder months, plenty of people may feel a little unmotivated to touch up their outdoor spaces.
If this is you, there’s never been a better time than now to take your indoor space to the next level. Whatever room you fancy decorating, Charles & Ivy slat walls are the perfect choice to go with.
But how do you ensure a seamless installation when fixing wood slats to the walls in your home?
Read on to find out everything you need to know about our beautiful collection of slat wall panels and how to install them properly.

What tools are needed for slat wall installation?
The installation of our slat wall panels is a quick and easy process using just a few basic tools, including:
- A tape measure
- A fine-tooth saw
- A Stanley knife
- Black drywall screws and rawl (wall) plugs or a good quality grab adhesive
- A screwdriver or an application gun
Panels can easily be measured and cut to your desired size using a fine-tooth saw.
A Stanley knife may also be needed to adjust the width of your panel or cut around light switches or sockets before glueing it down with a solvent-free adhesive and application gun.
If you’d prefer to screw your wooden slat panels to the wall, we recommend using black drywall screws as they have a black phosphate coating which protects against rust and corrosion.
Wall plugs will provide a secure base for the screws to grip onto, ensuring stability and longevity.
How to install Charles & Ivy slat walls in 5 easy steps
Because our slat walls are so lightweight, they’re incredibly easy to install.
You can go from a boring, plain wall to a modern, luxurious feel as quick as a flash. If you’re thinking of incorporating our DIY slat walls into your home, check out our step-by-step slat wall installation guide below.
Step 1:
Measure the height of the wall you want to cover and mark your slat wall before cutting it to size. Repeat the process for the amount of length you want to cover.
Step 2:
Starting from left to right, fix your first slat wall into place, making sure the grooved fixing side is on the right. Pre-drill a fixing lip into the wall through the slat groove and repeat as many times as necessary. Remove the slat wall, then affix a rawl plug into each drill hole before applying adhesive for the slat wall to sit on top of.
Step 3:
Position the slat wall back onto the wall and screw it into place.
Step 4:
Repeat the process for the rest of the wall, making sure to cut around any obstacles or existing furniture. If electrical sockets are in the way, take their measurements, allowing 5mm for the slat wall to sit behind.
Step 5:
Stand back and admire your new feature wall.
There you have it! A brand-new, eye-catching addition to any room in your home in just five simple steps. If you’re interested in taking your space to the next level, head on-site and check out our range of slat walls. Choose from our Light Pebble, Natural Oak, Mocha, Mid Grey, and Dark Grey colourways, all with a flawless wood-grained finish.

Need a hand choosing luxury slat walls?
If you’re not sure which colour is best for your space, why not order our free sample packs and assess how our DIY slat walls will look within your home?
Whether it be a stylish media wall in your living room, a bold feature wall in your hallway or bathroom, or a unique headboard in your bedroom, we’re confident you’ll discover the perfect addition to your space today.
If you’re in need of a few transformation tips, check out our inspiration page, filled with all our easy-to-install products in a wide range of gardens and homes. Our friendly customer support team is available via live chat, email, or phone to answer any questions you may have about our products.
If you're interested in seeing the installation of our slat walls first-hand, check out our handy video guide here.
If you're interested in seeing the installation of our slat walls first-hand, check out our handy video guide here.


